

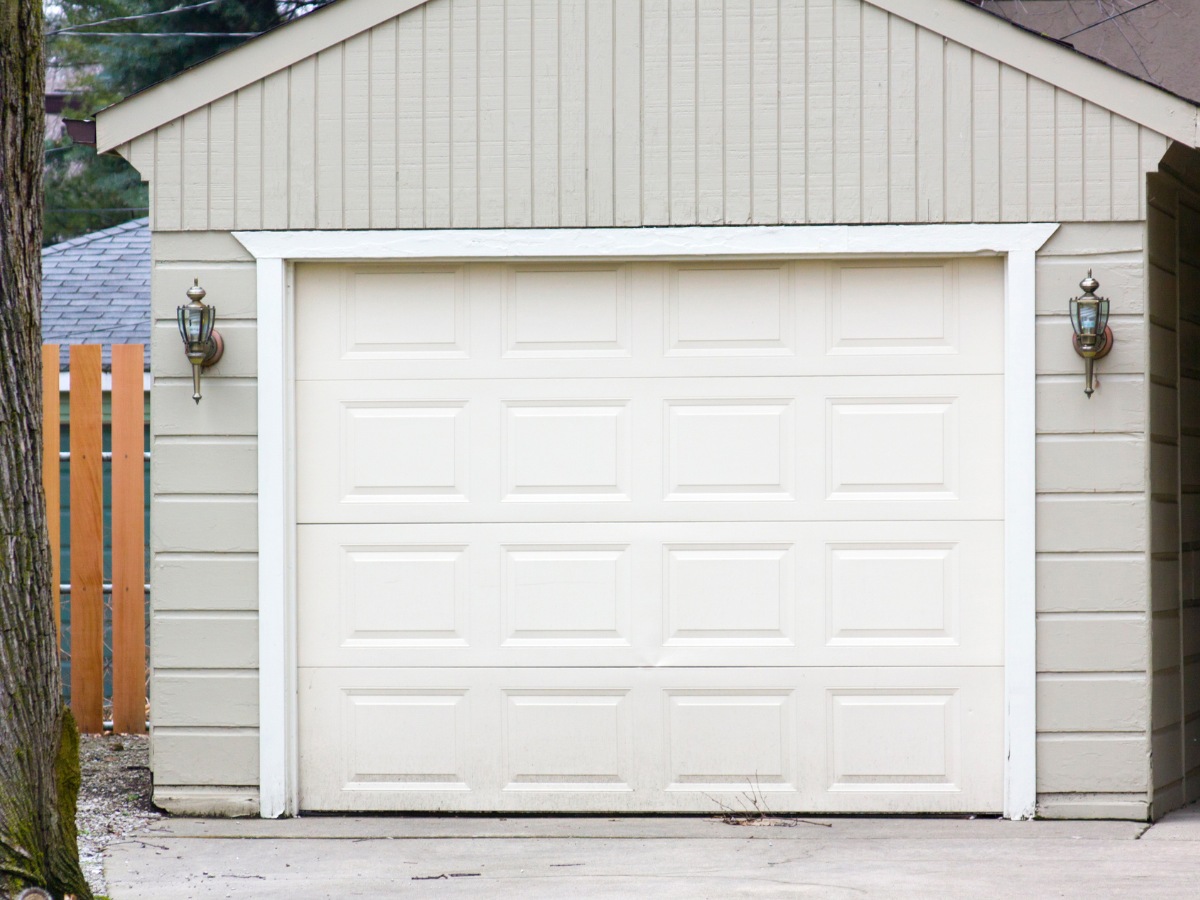
DIY Guide on How to Wind Garage Door Springs
Garage doors play a crucial role in providing homeowners with security and convenience. However, one component that often goes unnoticed but is essential for the proper functioning of a garage door is the garage door springs. These springs are responsible for the lifting force that allows the heavy garage door to open and close smoothly.
In this DIY guide, we will walk you through the process of winding garage door springs step by step. We will provide you with the information, safety measures, and tools to wind your garage door springs successfully. By following the instructions carefully and taking the necessary precautions, you can ensure your garage door’s safe and efficient operation.
Types of Garage Door Springs
Depending on the design and manufacturer, garage doors can be equipped with different types of springs. The three most common types are torsion, extension, and torque master springs.
These springs stretch or extend when the door is closed and contract when the door is opened. Understanding the type of spring system your garage door uses is crucial for successfully winding the springs and ensuring your garage door’s safe and efficient operation.
Importance of Correct Spring Tension
Correct spring tension plays a vital role in your garage door’s safe and efficient operation. If the spring tension is too high, it can cause the door to open too quickly or slam shut, posing a safety risk. On the other hand, if the spring tension is too low, the door may not open fully or may struggle to close, affecting its functionality.
Maintaining the correct spring tension is crucial for your garage door’s smooth and safe operation. To ensure optimal performance, it is recommended that you periodically check the tension and make any necessary adjustments.
Preparing for the Task
Before winding your garage door springs, it is important to take certain precautions and gather the necessary tools and materials. This preparation will ensure a smooth and safe winding process.
Next, gather the right tools for the job. You will need a winding bar, socket wrench, adjustable wrench, locking pliers, and rags. These tools will help you safely and effectively wind the garage door springs.
Additionally, make sure you have all the necessary materials, such as new springs and any replacement parts required for your specific garage door. Having everything prepared beforehand will ensure a smooth and efficient winding process.
Safety Measures and Precautions
Regarding winding garage door springs, safety should be your top priority. Mishandling garage door springs can result in serious injury. Here are some safety measures and precautions to follow:
- Always wear safety glasses and leather gloves to protect your eyes and hands from potential flying debris or injury.
- Locking pliers secure the torsion spring tube and maintain tension on the cables while winding. This will prevent the springs from snapping back and causing injury.
- Never use screwdrivers, pin punches, or pliers handles to wind or unwind the torsion springs. These tools are not designed for this purpose and can lead to accidents.
Tools and Materials Needed
To successfully wind your garage door springs, you’ll need the following tools and materials:
Tools:
- Winding bar: Used to wind and unwind the torsion springs.
- Socket wrench: Used to tighten and loosen set screws on the torsion hardware.
- Adjustable wrench: Used for various adjustments during the process.
- Locking pliers: These are used to secure the torsion spring tube and maintain tension on the cables.
- Rags: Used for cleaning and wiping down parts.
Step-by-Step Guide to Winding Garage Door Springs
Winding garage door springs can be a complex process, but by following a step-by-step guide, you can complete the task. Here is a detailed guide to winding your garage door springs:
Step 1: Measuring the Current Tension
- Before starting the winding process, measuring the current tension of the springs is important. This will help determine the number of turns required during winding.
Step 2: Loosening the Torsion Hardware
- Use a socket wrench to loosen the set screws on the torsion hardware. This will allow for easier winding of the springs.
Step 3: Setting Up for Winding
- Position the winding cone and cable drum in preparation for winding. Make sure they are securely in place before proceeding.
Step 4: Winding the Garage Door Springs
- Use a winding bar to wind the springs, following the recommended number of turns based on the door height and other factors.
Step 5: Checking Spring Tension
- After winding the springs, check the spring tension to ensure it is within the recommended range. Adjust as necessary to achieve the desired tension.
Measuring the Current Tension
Before you begin winding your garage door springs, it is essential to measure the current tension to determine the number of turns required. This will help ensure the correct amount of tension for the smooth operation of your garage door.
Consult the manufacturer’s guidelines or a professional to determine the recommended number of turns based on the door height and other factors. This information will guide you during the winding process and help you achieve the desired spring tension for your garage door.
Loosening the Torsion Hardware
Before you can begin winding the garage door springs, it is essential to loosen the torsion hardware. This will allow for easier winding and adjustment of the springs. Here’s how to loosen the torsion hardware:
- Locate the set screws on the torsion hardware, which are usually positioned on the stationary cone side.
- Use a socket wrench to loosen the set screws by turning them counterclockwise. Loosening the set screws will relieve the tension on the torsion springs.
- Make sure to loosen the set screws on both sides of the garage door to ensure balanced tension.
Setting Up for Winding
After loosening the torsion hardware, it’s time to set up the necessary components for winding the garage door springs. Here’s how to set up for winding:
- Position the winding cone: Place it securely onto the torsion tube, ensuring it fits snugly. The winding cone is responsible for holding the tension of the spring during winding.
- Align the torsion spring: Carefully align it on the tube, ensuring it fits securely onto the winding cone and cable drum.
Finalizing the Installation
After winding the garage door springs, it is essential to finalize the installation to ensure the proper functioning of your garage door. Here are the final steps:
- Secure the torsion hardware: Double-check that the torsion hardware, including the winding cone and cable drum, is securely in place.
- Test the garage door balance: Open and close the garage door to test its balance. The door should open and close smoothly without any imbalance or difficulty.
- Check the end bearing plate: Ensure that the end bearing plate is securely fastened to the horizontal angle and wall flange. This will provide stability and support to the garage door.
Testing the Garage Door Balance
After winding the garage door springs and securing the torsion hardware, testing the garage door’s balance is essential. A balanced garage door ensures smooth operation and reduces stress on the door springs and other components. Here’s how to test the garage door balance:
- Disconnect the locking pliers: Remove the ones holding the torsion spring tube in place.
- Open and close the door: Slowly close the garage door to check its balance. The door should open and close smoothly without any jerking or imbalance.
- Make adjustments if necessary: If the door feels too heavy or too light, you may need to adjust the spring tension or other components. Consult the manufacturer’s guidelines or seek professional advice on how to make the necessary adjustments.
Maintenance Tips for Garage Door Springs
Regular maintenance is key to your garage door springs’ longevity and optimal performance. Here are some maintenance tips to keep in mind:
- Regular inspection: Periodically inspect your garage door springs for any signs of wear, damage, or corrosion. Address any issues promptly.
- Lubrication: Apply a suitable garage door lubricant to the springs to ensure smooth movement and prevent rust.
- Recognize signs of wear and tear: Be aware of any unusual sounds, jerking movements, or imbalance in the garage door, as these can be signs of worn-out or damaged springs.
Regular Inspection and Lubrication
Regular inspection and lubrication are essential for maintaining the optimal performance of your garage door springs. Here’s what you need to know:
- Regular inspection: Periodically inspect your garage door springs for any signs of wear, damage, or corrosion. Look for rust, frayed cables, or broken coils. If you notice any issues, address them promptly to prevent further damage.
- Lubrication: Apply a suitable garage door lubricant to the springs to ensure smooth movement and prevent rust. Follow the manufacturer’s recommendations for lubrication intervals.
Recognizing Signs of Wear and Tear
Recognizing signs of wear and tear in your garage door springs is crucial for your garage door’s safety and proper operation. Here are some signs to watch out for:
- Squeaking or grinding noises: Unusual sounds coming from your garage door when it opens or closes can indicate worn-out or damaged springs.
- Imbalance or jerking movements: If your garage door is imbalanced or exhibits jerking movements, it may be a sign of worn-out or damaged springs.
Following the step-by-step guide outlined here with Gulliver Garage Doors, you can confidently wind your garage door springs but always prioritize safety first. If in doubt, it’s advisable to seek professional assistance. A well-maintained garage door enhances your home’s curb appeal and provides security and convenience.