Energy-Efficient Garage Doors Benefits – Save Energy and Money
Energy efficiency is a crucial consideration for homeowners in today’s environmentally conscious world. One area that often gets overlooked is the garage door, which can significantly impact a home’s energy consumption. Fortunately, energy-efficient garage doors are now readily available, offering a range of benefits that can save you money, reduce your carbon footprint, and improve your overall comfort.
In this comprehensive guide, we’ll explore the top advantages of investing in energy-efficient garage doors and why you should prioritize this upgrade.
Why Energy Efficiency Matters for Garage Doors
Before we dive into the benefits, let’s understand why energy efficiency is so important when it comes to garage doors. Traditional garage doors are notorious for being drafty and allowing air to escape, leading to higher energy bills and uncomfortable temperatures inside the garage and adjacent living spaces. Energy-efficient garage doors, on the other hand, are designed to minimize air leakage, providing better insulation and temperature control.
The Impact of Garage Doors on Energy Consumption
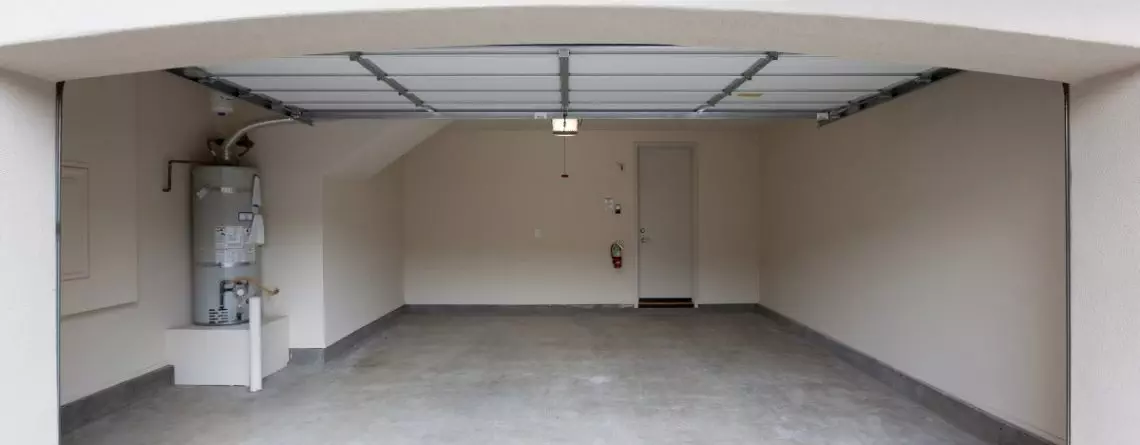
Did you know that garage doors account for a significant portion of a home’s exterior surface area? In fact, they can comprise up to 30% of the exterior wall space in some homes. This means that an inefficient garage door can act as a major source of heat loss or gain, depending on the season, resulting in increased energy consumption and higher utility bills.
The Top Benefits of Energy-Efficient Garage Doors
 Now that we understand the importance of energy efficiency for garage doors, let’s explore the top benefits you can enjoy by investing in this upgrade.
Reduced Energy Costs
One of the most significant advantages of energy-efficient garage doors is their ability to lower your energy bills. These doors are designed with superior insulation properties, which means they prevent air leakage and minimize heat transfer. As a result, your heating and cooling systems won’t have to work as hard to maintain a comfortable temperature inside your home, translating to lower energy costs throughout the year.
Improved Comfort and Temperature Control
In addition to saving money, energy-efficient garage doors can also enhance your overall comfort levels. By minimizing drafts and maintaining consistent temperatures, these doors ensure that your home remains cozy and inviting, regardless of the weather outside. This benefit is particularly valuable if you have living spaces adjacent to the garage or use the garage for purposes other than just parking your vehicles.
Reduced Environmental Impact
Embracing energy-efficient solutions is not only good for your wallet but also for the planet. By reducing your energy consumption, you’re contributing to a lower carbon footprint and helping to mitigate the effects of climate change. Energy-efficient garage doors are an excellent way to make your home more environmentally friendly without sacrificing convenience or functionality.
Factors to Consider When Choosing Energy-Efficient Garage Doors
Not all energy-efficient garage doors are created equal. To ensure you get the most out of your investment, here are some key factors to consider:
- Insulation Value: Look for garage doors with a high insulation value, typically measured in R-value. The higher the R-value, the better the insulation and energy efficiency.
- Air Infiltration Rating: This rating indicates how well the door prevents air leakage, with lower ratings being better. Aim for a rating of 0.4 cfm/ft² or lower.
- Weather Sealing: Effective weather sealing around the door’s perimeter is crucial for preventing drafts and maintaining energy efficiency.
- Materials: Insulated steel, fiberglass, and wood are common materials used in energy-efficient garage doors. Each has its own advantages and disadvantages in terms of durability, maintenance, and insulation properties.
Types of Energy-Efficient Garage Doors
There are several types of energy-efficient garage doors to choose from, each with its own unique features and benefits. Here are some popular options:
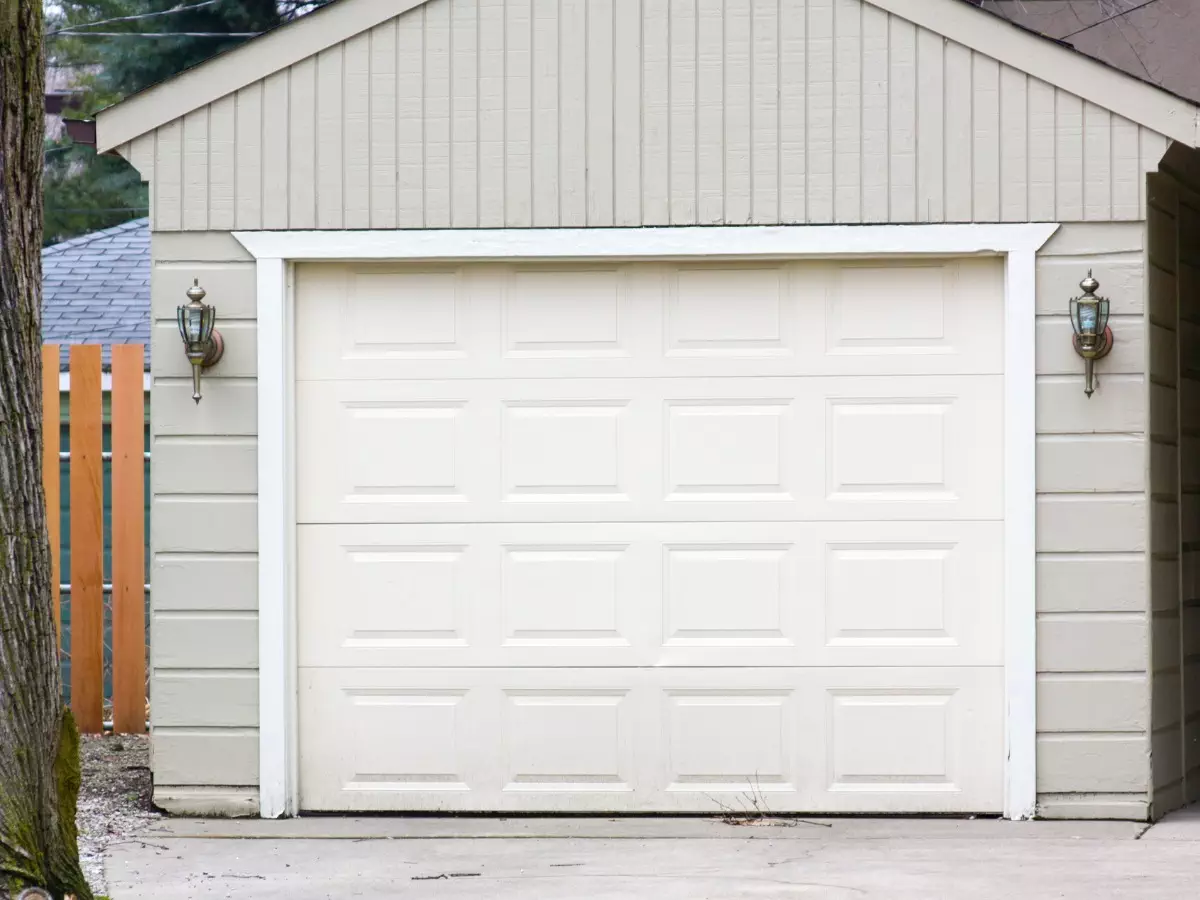
Insulated Steel Garage Doors
Insulated steel garage doors are a popular choice for their durability and energy efficiency. These doors feature a steel exterior with a layer of insulation sandwiched between the steel panels. They offer excellent insulation properties and are available in a variety of designs and colors to complement your home’s aesthetic.
Wood Garage Doors with Insulation
For a more natural and rustic look, wood garage doors with insulation can be an excellent option. These doors are constructed from solid wood panels with insulation added for improved energy efficiency. They provide a warm and inviting appearance while still offering the benefits of insulation and temperature control.
Fiberglass Garage Doors
Fiberglass garage doors are known for their lightweight yet durable construction. They are often filled with insulation material, making them an energy-efficient choice. Fiberglass doors are also resistant to dents, rust, and fading, ensuring long-lasting performance and low maintenance requirements.
Installation and Maintenance Considerations
Proper installation and regular maintenance are crucial for ensuring the long-term energy efficiency and performance of your garage doors. Here are some key considerations:
- Professional Installation: Energy-efficient garage doors require precise installation to ensure proper sealing and insulation. It’s recommended to hire a professional garage door installation company to ensure the job is done correctly.
- Weather Stripping and Seals: Over time, weather stripping and seals can deteriorate, compromising the door’s energy efficiency. Regular inspections and replacements as needed are essential.
- Lubrication: Keeping the garage door components well-lubricated can help prevent friction and wear, ensuring smooth operation and prolonging the door’s lifespan.
- Insulation Integrity: If your energy-efficient garage door features insulation, it’s important to check for any gaps, settling, or damage that could compromise its insulation properties.
Cost Considerations and Potential Savings
While energy-efficient garage doors typically come with a higher upfront cost compared to traditional options, the long-term savings on energy bills can make them a worthwhile investment. Additionally, many utility companies and government programs offer rebates or incentives for homeowners who opt for energy-efficient upgrades, potentially offsetting some of the initial costs.
To estimate potential savings, consider factors such as the size of your garage door, the climate in your region, and your current energy consumption and costs. Many garage door manufacturers and retailers provide energy savings calculators to help you estimate the potential savings based on your specific circumstances.
Combining Energy-Efficient Garage Doors with Other Home Improvements
For maximum energy efficiency and cost savings, consider combining your energy-efficient garage door upgrade with other home improvements. Here are some complementary options:
- Insulated Garage Walls and Ceilings: Insulating the garage walls and ceiling can further enhance the energy efficiency of your garage, creating a more comfortable and temperature-controlled space.
- Energy-Efficient Windows: Replacing old, drafty windows with energy-efficient options can help minimize heat loss or gain throughout your home.
- Smart Home Technologies: Integrating your energy-efficient garage door with smart home technologies, such as programmable thermostats and automated lighting, can further optimize energy usage and convenience.
If you’re ready to upgrade to an energy-efficient garage door and enjoy the numerous benefits it offers, look no further than Gulliver Garage Doors in Edmonton. Our team of experts specializes in providing top-quality garage door services, including installation, repair, and replacement. We offer a wide selection of energy-efficient garage door options from leading brands, ensuring you find the perfect solution for your home and budget.
Don’t let an inefficient garage door drain your energy and money any longer. Contact Gulliver Garage Doors today to schedule a consultation and experience the difference an energy-efficient garage door can make.

 The
The  Environmental factors, such as temperature extremes and moisture, can also contribute to garage door problems.
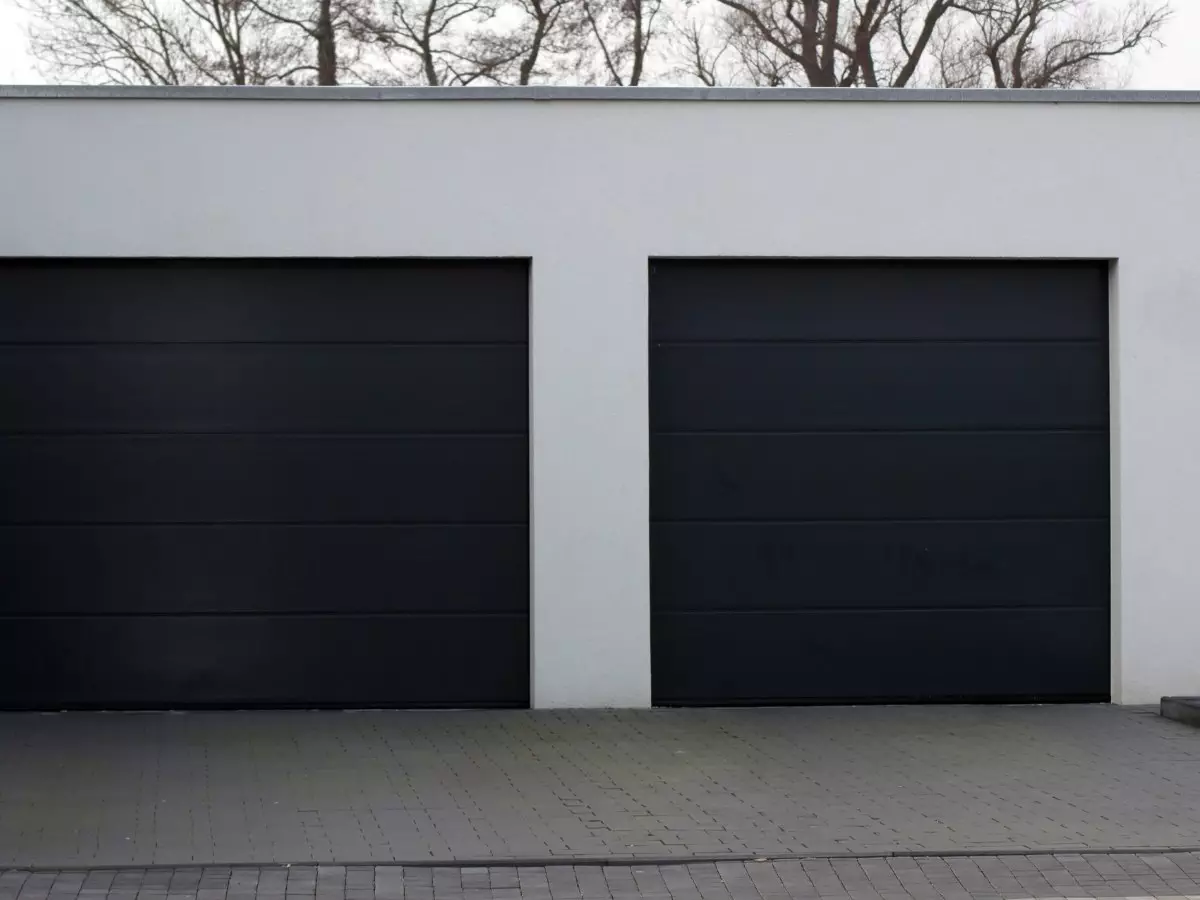
 For those seeking a more contemporary and modern aesthetic,
  For homeowners who appreciate wood’s timeless beauty and natural warmth, wooden garage doors offer a stunning and sophisticated option. These doors can seamlessly blend with various architectural styles, from traditional to contemporary.
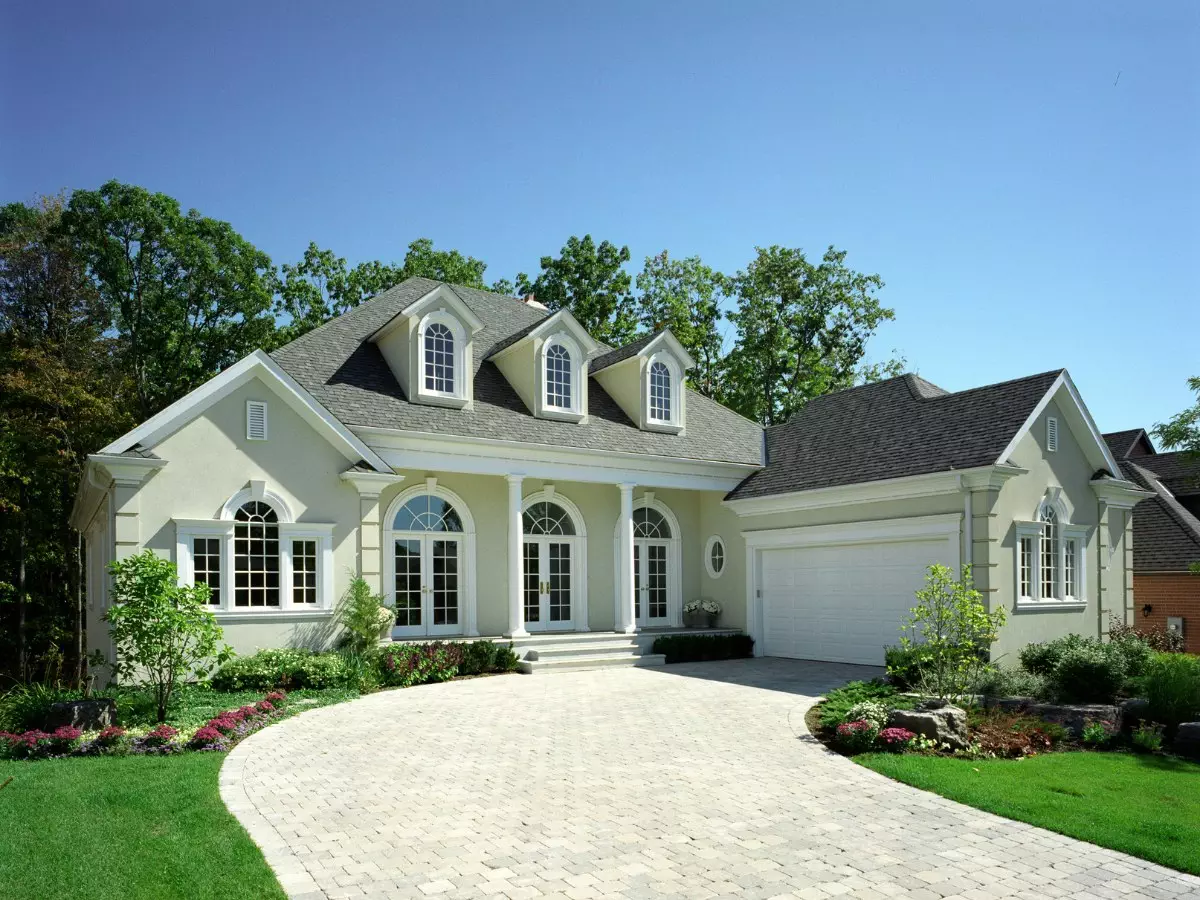
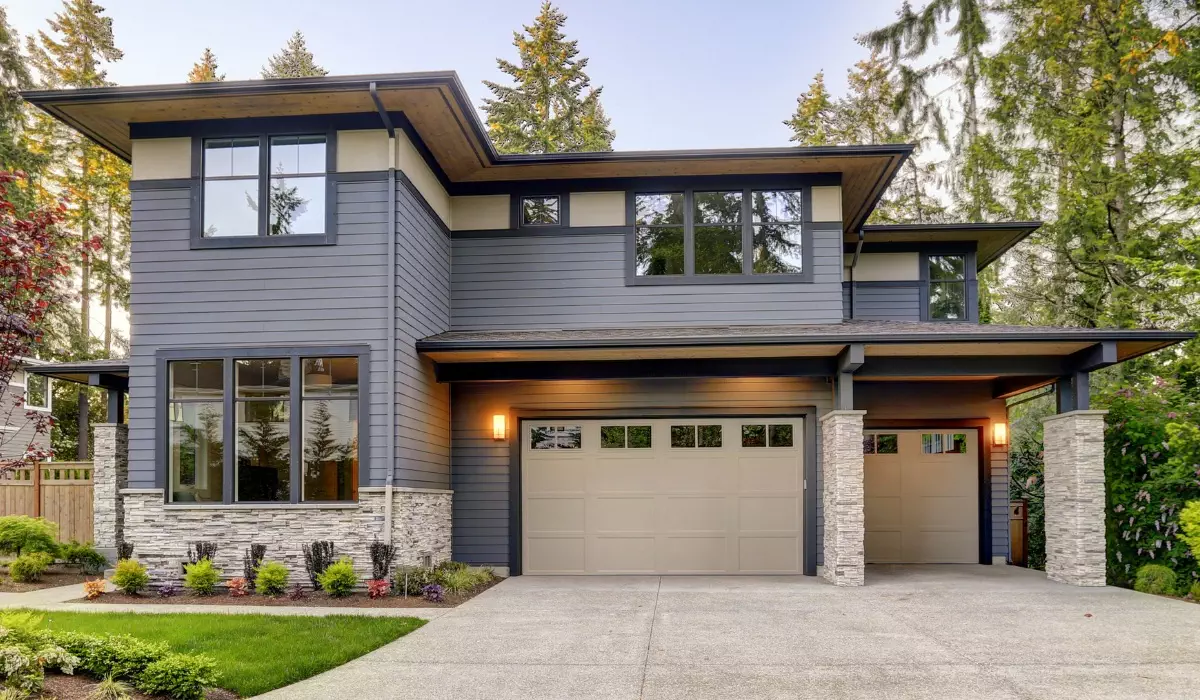
 Gone are the days when garage doors were merely functional. Today’s automatic garage doors are designed with aesthetics in mind, offering homeowners a wide range of customization options to complement their home’s architectural styles.
 As smart home technologies continue to evolve, automatic garage doors are taking their place as an integral part of the connected home ecosystem.