
How to Install Garage Door Opener Liftmaster- DIY Guide
Embark on the endeavor of installing your own garage door opener with this comprehensive and detailed guide by Gulliver Garage Doors. In this blog post, you will walk through each step of the installation process and learn how to safely and effectively set up a Liftmaster garage door opener. Whether you’re a seasoned DIY enthusiast or a first-time installer, this guide will provide you with the knowledge and confidence needed to successfully complete the installation.
Understanding Required Tools and Equipment
The installation of a Liftmaster garage door opener requires specific tools and equipment to ensure a safe and efficient installation process. It is important to have all the necessary items ready before beginning the installation to prevent any delays or safety hazards.
Tools for Liftmaster Garage Door Opener Installation
When installing a Liftmaster garage door opener, you will need a set of basic tools such as a power drill, screwdriver, adjustable wrench, and socket set. Additionally, specialized tools such as a garage door opener installation kit and a ladder will be required. Using the correct tools will ensure that you can securely install the opener and avoid any potential issues down the line.
Safety Equipment for Garage Door Installation
It is imperative to prioritize safety throughout the installation process. In addition to the necessary tools, you will need safety equipment such as safety glasses, work gloves, and a hard hat. Additionally, you should have a first aid kit on hand in case of any accidents. Remember that working with garage door mechanisms can be dangerous, so it’s crucial to take all necessary precautions to protect yourself.

Step-by-Step Installation of Liftmaster Garage Door Opener
Step 1: Unbox and Inspect
Begin by carefully unboxing the LiftMaster garage door opener kit. Inspect all the components to ensure that everything is included and in good condition. Refer to the user manual for a detailed list of components.
Step 2: Assemble the Rail and Trolley
Follow the instructions provided in the manual to assemble the rail and trolley system. This typically involves connecting sections of the rail and attaching the trolley to the chain or belt.
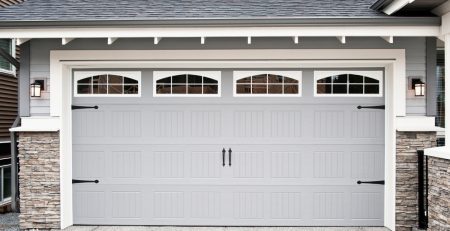
Step 3: Measure and Mark for Installation
Using a measuring tape, determine the optimal placement for the opener on the ceiling. Mark the location of the motor unit, ensuring it is centered above the garage door.
Step 4: Install the Ceiling Support Bracket
Secure the ceiling support bracket to the ceiling joists using the provided mounting straps. This bracket will provide additional support for the garage door opener.
Step 5: Mount the Motor Unit
With the help of a stepladder, mount the motor unit to the ceiling support bracket using the provided hardware. Ensure that the unit is level and securely fastened.
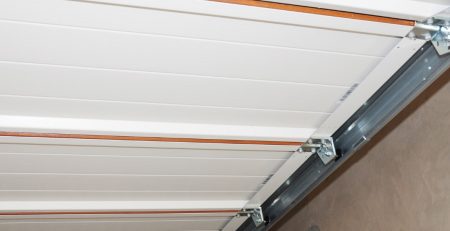
Step 6: Attach the Rail to the Motor Unit
Connect the rail to the motor unit according to the manufacturer’s instructions. This may involve sliding the rail into the motor unit and securing it with the provided hardware.
Step 7: Install the Trolley and Door Arm
Attach the trolley to the rail and connect the door arm to the trolley. Follow the instructions carefully, ensuring proper alignment and attachment.
Step 8: Connect the Power
Plug in the power cord of the garage door opener into a nearby electrical outlet. If a power outlet is unavailable, consider hiring a professional electrician to install one.
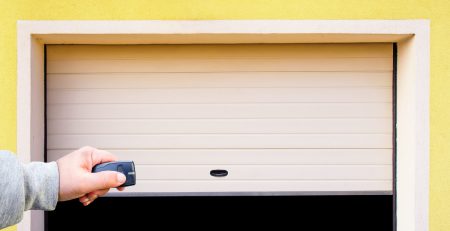
Step 9: Program the Opener
Follow the programming instructions in the user manual to set up the remote controls and any additional features, such as a wireless keypad.
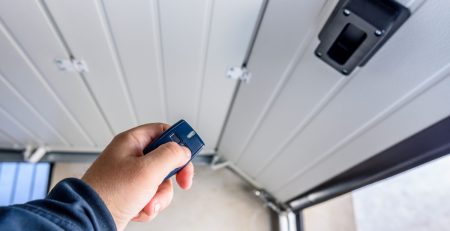
Step 10: Test the Garage Door Opener
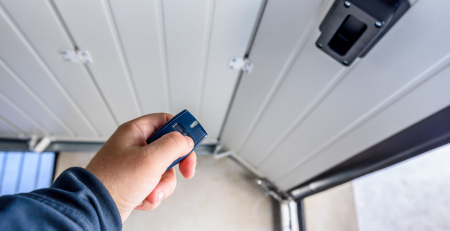
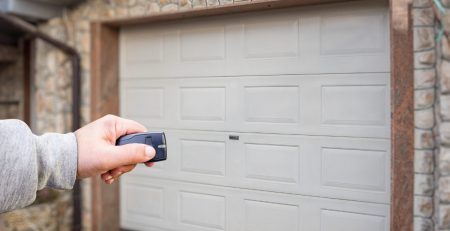
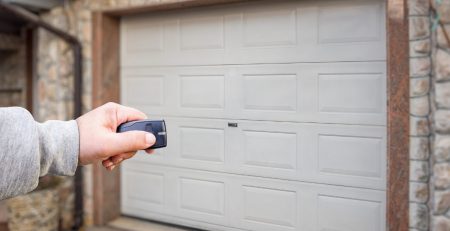
After installing, test the garage door opener with the remote control. Ensure that the door opens and closes smoothly without any issues.
Understanding Common Garage Door Opener Issues

It’s important to familiarize yourself with common issues that can arise with your garage door opener. These may include malfunctioning remote controls, noisy operation, uneven movement, and failure to open or close completely. Understanding the root causes of these problems can help you effectively address them and prevent future occurrences.
DIY Maintenance Tips for Liftmaster Garage Door Opener
Regular maintenance is essential for keeping your Liftmaster garage door opener in optimal condition. Here are some DIY maintenance tips that you can follow:
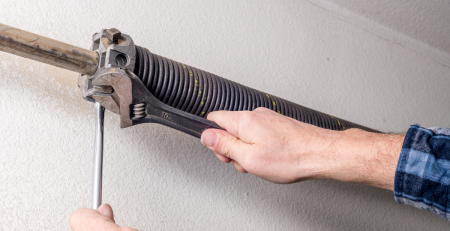
- Inspect and tighten hardware such as bolts and screws on a regular basis.
- Keep the tracks clean and free from debris to ensure smooth operation.
- Lubricate the moving parts of the opener to minimize friction and reduce wear and tear.
- Test the safety features of the opener, such as the auto-reverse mechanism, to ensure proper functionality.
From above, you have learned the steps to successfully install a Garage Door Opener Liftmaster on your own. By following these instructions carefully, you can ensure that your garage door opener is installed correctly and functions smoothly. Gulliver Garage Doors is the best choice in Edmonton for your garage door needs. Known for exceptional quality and service, we provide reliable products that complement the Garage Door Opener Liftmaster installation.
Whether you need a new garage door or seek expert advice, we are a trusted partner in enhancing the security and functionality of your home. Choose Gulliver Garage Doors to seamlessly integrate top-notch products and professional service in the Edmonton area.