How To Program Garage Door Openers – Expert Guide with Gulliver Garage Doors
Garage door openers have become a convenient and essential part of our daily lives. They provide us with easy access to our garages and enhance the security of our homes. However, programming a garage door opener can be daunting for many homeowners.
With the advancement in technology, there are now different garage door openers available in the market, each requiring a specific programming method. This expert guide will walk you through the step-by-step process of programming your garage door opener to ensure smooth operation and optimal performance.
Different Types of Garage Door Openers
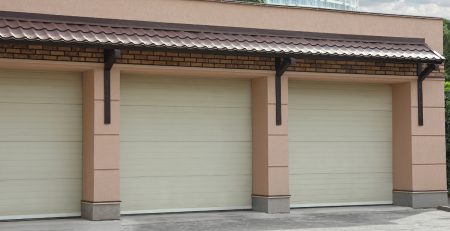
Several types of garage door openers are available in the market, each offering its own set of features and benefits. The most common types include chain-drive, belt-drive, screw-drive, and direct-drive openers. Chain-drive openers are the most popular and affordable option but tend to be noisy.
Belt-drive openers are known for their quiet operation, making them popular for residential garages near living spaces. Screw-drive openers are durable and require minimal maintenance.
Preparing to Program Your Garage Door Opener
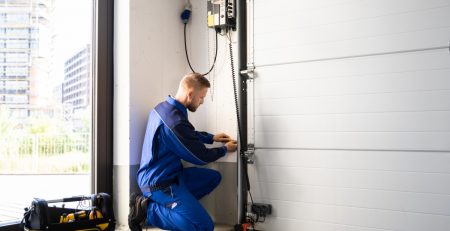
Gathering the necessary tools and equipment before you begin programming your garage door opener is essential. This will ensure a smooth and successful programming process.
Additionally, following safety precautions is essential to prevent any accidents or damage. If you need clarification on the programming process or encounter any difficulties, it is always best to consult garage door experts who can provide guidance and assistance.
Essential Tools and Equipment Needed
You will need a few essential tools and equipment to program your garage door opener. These include a new keypad or remote control, depending on the type of opener you have.
Ensuring that the keypad or remote control is compatible with your garage door opener is essential. Additionally, you may need garage door opener accessories such as safety sensors or a wireless keypad. An LED light or flashlight is also recommended for better visibility during the programming process.
Safety Precautions Before Starting
Before you begin programming your garage door opener, it is essential to take some safety precautions. This will help ensure your safety and prevent any accidents or damage. Disconnecting the power supply to the garage door opener is a good idea to avoid any electrical mishaps.
Additionally, it is essential to keep children and pets away from the area during the programming process. Some garage door openers have an indicator light that signals when the programming mode is active. It is essential to pay attention to this light and follow the manufacturer’s instructions for proper programming.
Step-by-Step Guide to Programming Your Garage Door Opener
Now that you are prepared and aware of the safety precautions let’s dive into the step-by-step guide to programming your garage door opener. The programming process may vary slightly depending on the type and model of your garage door opener, but the general steps remain the same. This guide will cover the typical steps in programming a garage door opener with a learn button, remote control, and program button.
Step 1: Locate the Learn Button on Your Opener
The first step in programming your garage door opener is to locate the learn button. This button is typically located near the light cover on the back or side of the opener unit.
Sometimes, you may need to remove the light cover to access the learn button. Once you have located the learn button, make sure the garage door opener light is functioning correctly, as it will indicate the programming mode.
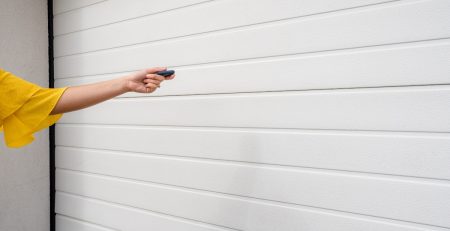
Step 2: Choose Your Remote or Keypad
After locating the learn button, the next step is to choose your remote control or keypad. Depending on your garage door opener, you may have a remote control or a keypad for programming.
If you are programming a new garage door opener, you may need to purchase a compatible remote control or keypad. Ensure that the remote control or keypad is within range of the garage door opener for proper programming.
Step 3: Enter the Desired Code on the Keypad
Once you have chosen your remote control or keypad, the next step is to enter the desired code on the keypad. Follow the specific instructions provided by the manufacturer when entering the code.
Step 4: Press the Learn Button to Save the Code
After entering the desired code on the keypad, the next step is to press the learn button on the garage door opener. This will save the code and pair the remote control or keypad with the opener. Once you press the learn button, you may see an indicator light or hear a beep to confirm that the code has been saved. The process is usually straightforward, but following the manufacturer’s instructions for proper programming is essential.
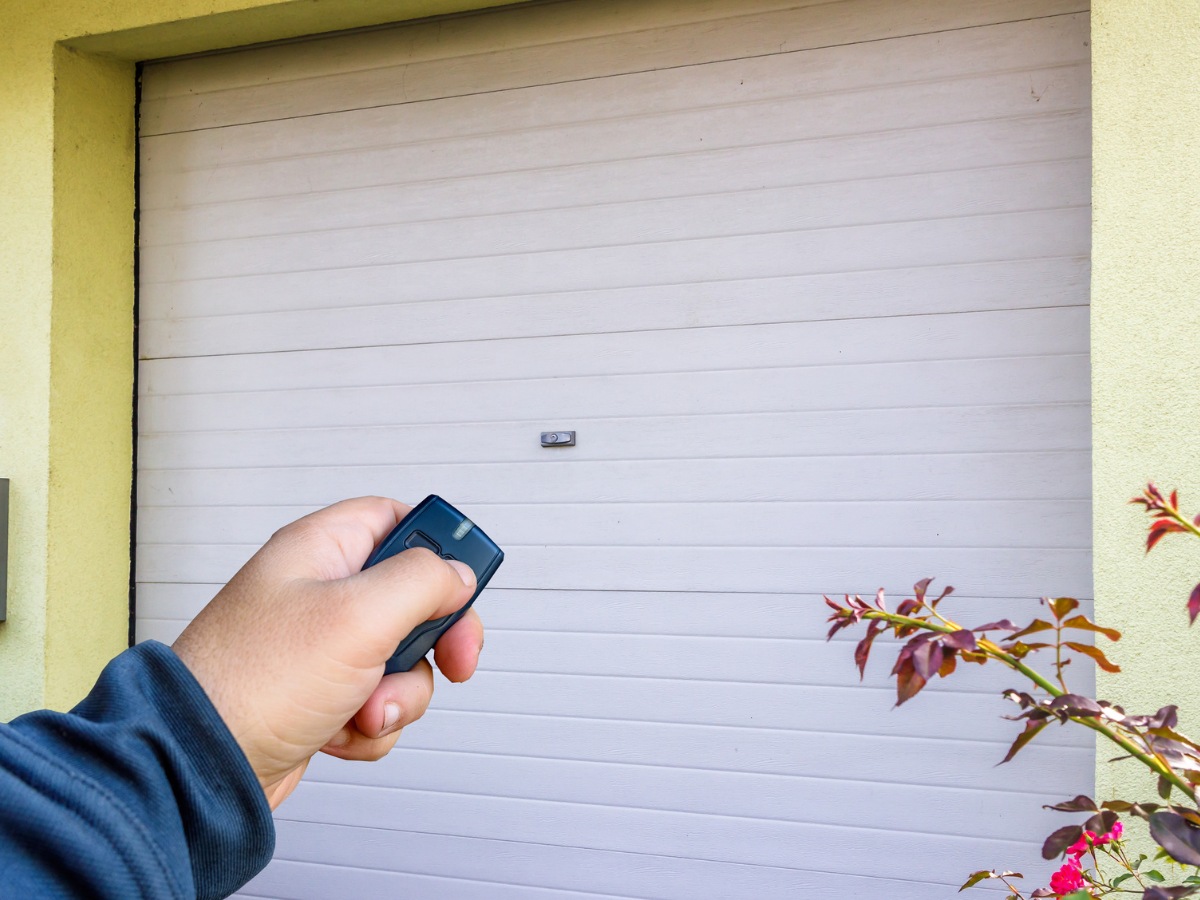
Step 5: Test the Programmed Device
The final step in programming your garage door opener is to test the programmed device. This can be done by pressing the remote or open buttons on the keypad. If the programming was successful, the garage door should open or close in response to the command.
To ensure proper operation, test the device a few times. If you encounter any issues, refer to the manufacturer’s instructions or consult a garage door expert.
Resetting Your Garage Door Opener
If you need to reset your garage door opener for any reason, such as after a power outage or to resolve programming issues, the process is usually straightforward. Most openers have a reset button or a specific sequence of buttons that need to be pressed to initiate the reset. Refer to the manufacturer’s instructions for the specific reset process for your opener.
It is important to note that resetting your garage door opener will erase all programmed codes, so you must reprogram any remotes or keypads after the reset.
Programming Your Garage Door Opener to Your Car
Programming your garage door opener to your car can be a convenient feature that eliminates the need for a separate remote control or keypad. Many newer car models come equipped with Homelink, a system that allows you to program your garage door opener directly to your car’s control panel.
The programming process may vary depending on the make and model of your car. Still, it usually involves pressing a series of buttons and following the manufacturer’s specific instructions. Refer to your car’s user manual or consult with a garage door expert for guidance on programming your garage door opener to your car.
Setting Up Temporary Access Codes
Setting up temporary access codes for your garage door opener can be helpful when guests or service providers need temporary access to your garage. Many garage door openers offer the option to create temporary access codes that can be programmed for a specific period and then automatically expire.
This eliminates the need to provide guests with a physical key or remote control and enhances security by allowing you to control access to your garage. Refer to the manufacturer’s instructions for your garage door opener model to learn how to set up temporary access codes.
Frequently Asked Questions
How do I reprogram a garage door opener if I move to a new home?
To reprogram a garage door opener when you move to a new home, follow the specific instructions provided by the manufacturer in the user manual. The process may vary depending on the make and model of your garage door opener. If a professional needs clarification, refer to the manufacturer’s website for detailed instructions.
Can multiple remotes be programmed to the same garage door opener?
Yes, multiple remotes can be programmed to the same garage door opener. Each remote control has a unique code or transmitter frequency that must be programmed into the opener. Refer to the manufacturer’s instructions for the specific programming steps to add multiple remotes to your garage door opener.